(Mold, sticking, and degradation warning signs)
Why “just trying to play it” can make things worse
When someone finds an old VHS tape, the instinct is immediate:
“Let’s play it and see what’s on it.”
We understand the urge — we’ve felt it too.
But over the years, we’ve learned that pressing play is sometimes the worst first step.
We’ve seen tapes that could have been saved suffer permanent damage because they were played once, in the wrong condition, on the wrong machine.
This guide exists to help you decide when it’s safe to proceed — and when it’s better to stop and reassess.
First: most VHS tapes are still playable
Let’s start with good news.
Despite their age, many VHS tapes are still perfectly salvageable — even after decades in storage.
Age alone doesn’t kill tapes.
Conditions do.
So before assuming the worst, it’s important to know what actually matters.
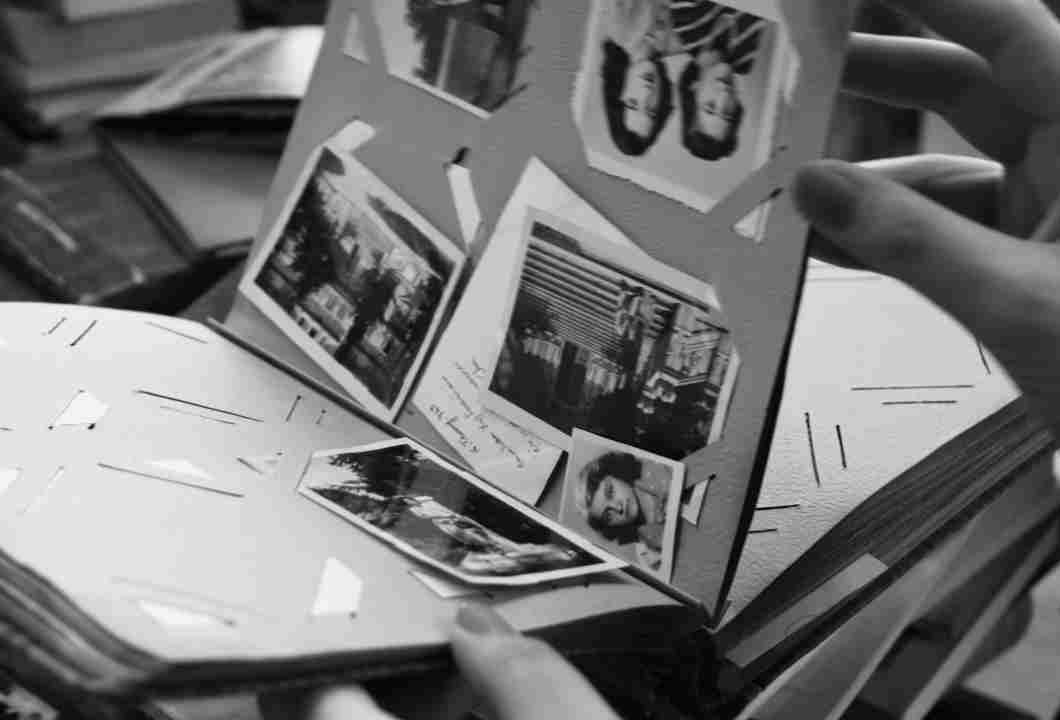
Visual inspection: what to check before inserting the tape
Before putting any tape into a VCR, we always do a quick visual check.
It takes less than a minute and can prevent serious damage.
Look through the cassette window
You’re checking for:
- White or fuzzy patches (possible mold)
- Uneven winding
- Loose or slack tape
If the tape looks evenly wound and clean, that’s a good sign.
Mold: when to stop immediately
Mold is the most dangerous issue we see — not because it’s common, but because it spreads.
Signs of mold:
- White, gray, or green fuzzy spots
- Powdery residue on the tape surface
- Musty smell from the cassette
If you see this, do not play the tape.
Playing a moldy tape can:
- Spread mold inside the VCR
- Contaminate other tapes
- Grind debris into the tape surface
We’ve seen one moldy tape ruin an otherwise clean deck.
This is a hard stop situation.
Sticky or stuck tapes: a quieter warning sign
Not all dangerous tapes look bad.
Some look fine — until they move.
Warning signs:
- Resistance when turning the reels by hand
- Tape that doesn’t rewind smoothly
- Squeaking or sticking sounds during fast-forward
This usually points to binder degradation or long-term storage issues.
Forcing playback here can stretch or tear the tape.
When a tape jams once — stop
This one comes from experience.
If a tape:
- Stops suddenly
- Gets eaten by the VCR
- Requires manual removal
…don’t put it back in “just to try again”.
We’ve learned that a second attempt often causes far more damage than the first.
At that point, the priority shifts from digitizing to not making things worse.
Signs of normal aging (not deal-breakers)
Not every imperfection is fatal.
Common, manageable issues:
- Slight color fading
- Minor dropouts
- Occasional tracking noise
These don’t automatically mean the tape is unsafe to play.
In fact, many tapes with visual imperfections digitize just fine — as long as playback is stable. That stability matters more than cosmetic flaws, as we discuss in How to digitize VHS at home without losing quality.
Why playback equipment matters even more with fragile tapes
Older or marginal tapes need:
- Gentle tape handling
- Stable transport
- Clean heads
A poorly maintained VCR can destroy a fragile tape in minutes.
This is another reason we’re careful about rushing into capture with convenience setups. Hardware choices matter more when tapes are at risk — something we touch on in USB capture devices for VHS: when they’re worth it and when they hurt quality.
A mistake we made once — and won’t repeat
We once tested a tape that looked “mostly fine”.
It played… briefly.
Then it slowed.
Then it jammed.
We managed to recover part of it — but the damage was avoidable. A simple inspection and test rewind would have warned us.
That tape taught us a simple rule we now follow religiously.
Our decision rule now
Before digitizing any tape, we ask:
- Does it look clean?
- Does it move freely?
- Does it rewind smoothly?
- Does it play briefly without resistance?
If the answer to any of these is “no”, we stop and reassess.
Digitization should never feel forced.
Why testing matters more than speed
There’s a lot of pressure to “get it done” — especially with family tapes.
But rushing often leads to:
- Lost footage
- Damaged equipment
- Irreversible mistakes
And once a tape is damaged, even the best capture setup can’t help.
This is why we emphasize testing, short captures, and backups throughout this series — from avoiding dropped frames in Digitizing VHS on an older laptop to preventing irreversible errors in The true cost of getting VHS digitization wrong.
A calm takeaway
Most VHS tapes can still be saved.
Some just need more care than others.
Knowing when to stop is just as important as knowing how to capture.
What’s next
Next, we’ll shift from diagnostics to execution at scale:
How to digitize multiple VHS tapes efficiently without cutting corners or losing track of files.
(Digitizing multiple VHS tapes: a safe, repeatable workflow.)