(and how to fix it without buying new gear)
Why “washed out” VHS is almost never the tape’s fault
We’ve heard this sentence more times than we can count:
“I guess the tape is just bad. VHS never looked great anyway.”
Sometimes that’s true.
Most of the time, it isn’t.
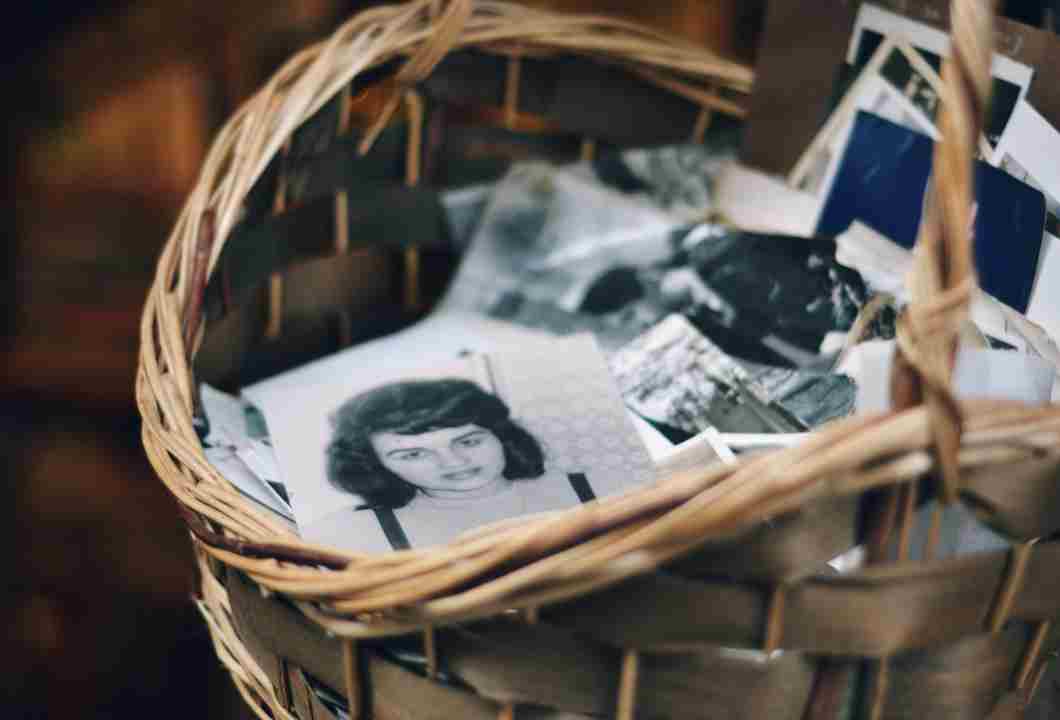
We learned this the frustrating way. One of the first tapes we digitized — a family holiday recording — came out flat, gray, and lifeless. Skin tones looked pale, blacks were gray, and everything felt… faded.
We assumed the tape was degraded.
It wasn’t.
The problem was a single capture setting that quietly crushed the signal before it ever reached the file.
What “washed out” actually means in VHS captures
When people say a VHS capture looks washed out, they usually mean one (or more) of these things:
- Blacks look gray instead of black
- Colors lack saturation
- Contrast feels flat
- The image looks “foggy,” even on a clean tape
This isn’t a VHS limitation.
It’s a signal interpretation problem.
The real culprit: wrong video levels during capture
The most common mistake is capturing VHS with incorrect video levels.
VHS uses limited (TV) levels, not full (PC) levels.
When capture software or devices treat the signal incorrectly, you get:
- Raised blacks
- Crushed highlights
- Permanently altered contrast
And once it’s captured that way, you can’t fully fix it later.
This is why some captures look dull even after “color correction.”
How we accidentally caused this ourselves
Early on, we trusted default settings.
The preview looked fine.
The file played fine.
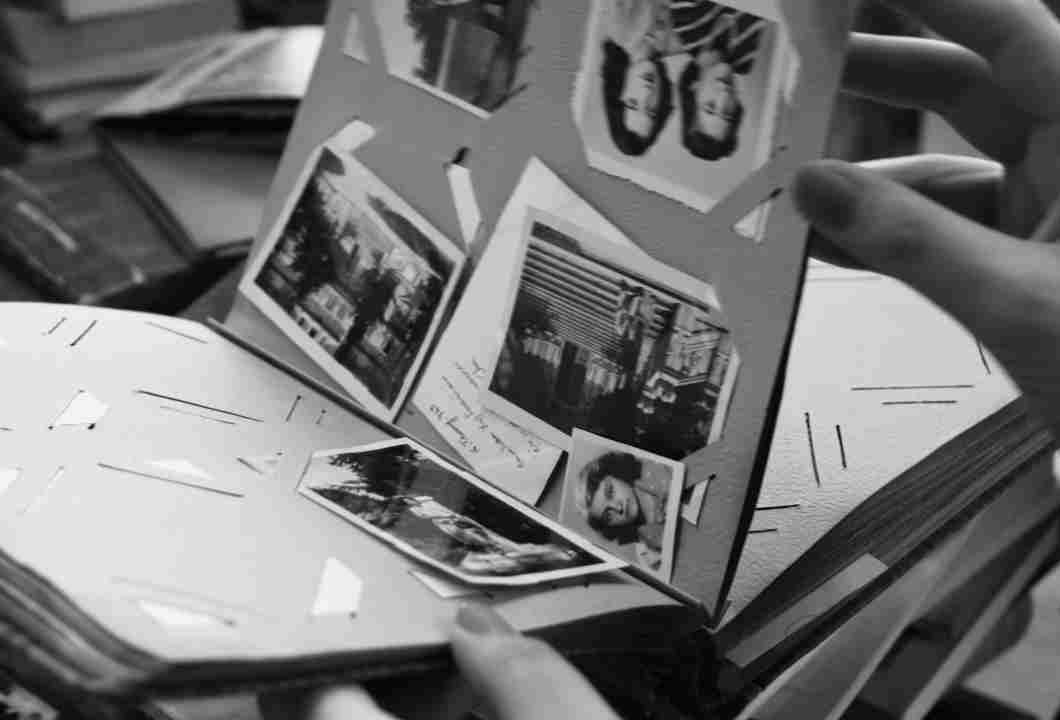
Only later — when comparing two captures side by side — did we notice how much depth was missing.
We re-captured the same tape with corrected levels and the difference was immediate. Same tape. Same VCR. Same capture device. Completely different result.
That was the moment we realized:
most VHS quality loss happens at capture, not playback.
Where this mistake usually hides
1. Capture software defaults
Many programs assume:
- Full range (0–255) instead of limited (16–235)
- Automatic level expansion
- “Enhancements” turned on by default
OBS, in particular, is powerful but unforgiving if misconfigured.
We go through safe settings step by step in OBS settings for capturing VHS without dropped frames.
2. Cheap USB capture devices doing “helpful” things
Some USB devices silently:
- Expand levels
- Apply sharpening
- Boost contrast
You don’t see it until it’s too late.
This is why we’re careful about when we recommend USB devices at all. They’re usable — but only in the right scenarios. We break that down in USB capture devices for VHS: when they’re worth it and when they hurt quality.
3. Converting to MP4 too early
This one causes long-term damage.
When you:
- Capture
- Compress
- Fix levels
…in the wrong order, you lock in mistakes.
We always capture first, verify levels, and only then create viewing copies. Capturing straight to MP4 often removes that safety net. We explain why in Is converting VHS straight to MP4 safe for preservation?.
How to fix washed-out captures (without new hardware)
The good news:
If the capture hasn’t happened yet, this is easy to fix.
Step 1: Check video level settings
Look for:
- “Color range”
- “Video levels”
- “Full vs limited”
For VHS, you almost always want limited / TV levels during capture.
Step 2: Disable enhancements
Turn off:
- Auto contrast
- Auto brightness
- Sharpening
- Noise reduction
Those belong after capture — if at all.
Step 3: Do a short test capture
We always capture 30–60 seconds and check:
- Black areas (are they gray?)
- Highlights (are they blown out?)
- Skin tones (do they look natural?)
If something looks wrong here, stop. Fix it now. Don’t “fix it in post.”
What if the capture is already done?
This depends on how bad it is.
- Mild level issues → partially correctable
- Crushed blacks or blown highlights → often permanent
That’s why we always say: test first, capture once.
And before touching the file, make a copy. We’ve lost “fixable” files by experimenting without backups — a mistake we talk about in The silent organization mistake that causes data loss.
When washed-out video really is the tape
Sometimes, yes — the tape is degraded.
Common signs:
- Uneven brightness
- Color shifts that change over time
- Physical damage or mold
Before giving up, it’s worth checking whether the tape is still playable and stable. We walk through the warning signs in How to tell if a VHS tape can still be saved.
A simple rule we follow now
If a VHS capture looks washed out, we assume settings first, tape second.
That single mindset change has saved us hours of rework — and preserved footage we almost dismissed as “lost quality.”
What’s next
In the next article, we’ll look at a problem that scares people even more than washed-out video — dropped frames and stuttering captures, especially on older laptops — and how to avoid them with realistic hardware requirements:
Digitizing VHS on an older laptop: minimum specs to avoid dropped frames.