Digitizing VHS at home sounds simple when described quickly.
You play the tape, connect the capture device, record the signal, save the file, and you are done.
In practice, it is a little messier than that.
Not because the process has to be advanced, but because VHS projects usually involve more than one challenge at once: old tapes, unclear labels, playback issues, large files, naming decisions, storage, and the question of what to do with the digital files afterward.
That is why the best way to approach VHS digitization is not just as a technical task.
It is a preservation task.
You are not only trying to make a file. You are trying to rescue material in a way that still makes sense later.
What you need before you start
You do not need a studio.
But you do need a setup that is stable enough to get through a tape without creating unnecessary problems.
At minimum, that usually means:
- a working VCR,
- a capture device,
- capture software,
- a computer with enough space,
- and a clear place to save the files.
The exact hardware can vary. The important thing is not using the most advanced equipment. It is using a setup that works consistently enough to finish the job.
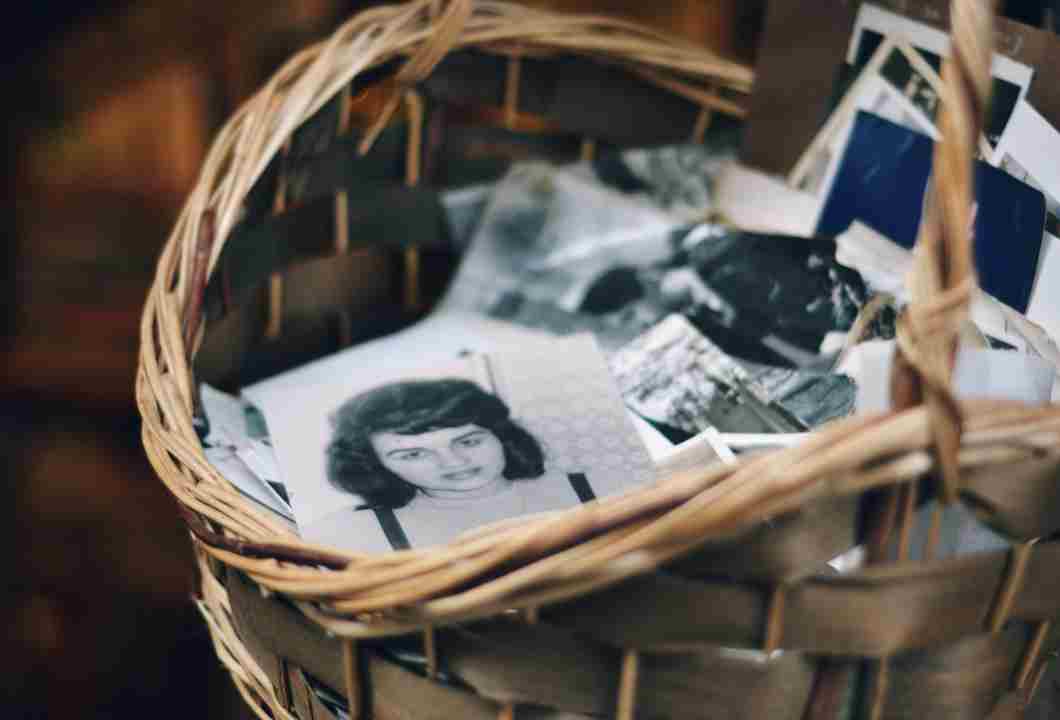
Check the tapes before you begin
Old tapes are rarely in identical condition.
Some will play normally. Others may have:
- tracking issues,
- weak labels,
- worn sections,
- long blank areas,
- or uncertain contents.
Before digitizing everything, take a little time to inspect what you have.
A simple tape list helps more than people expect. You can note:
- tape label,
- any visible year or event,
- rough condition,
- and whether it has already been digitized.
This becomes especially important if you are handling more than one tape. A workflow like Digitizing Multiple VHS Tapes Without Losing Control of the Process becomes very useful once the project grows beyond a single cassette.
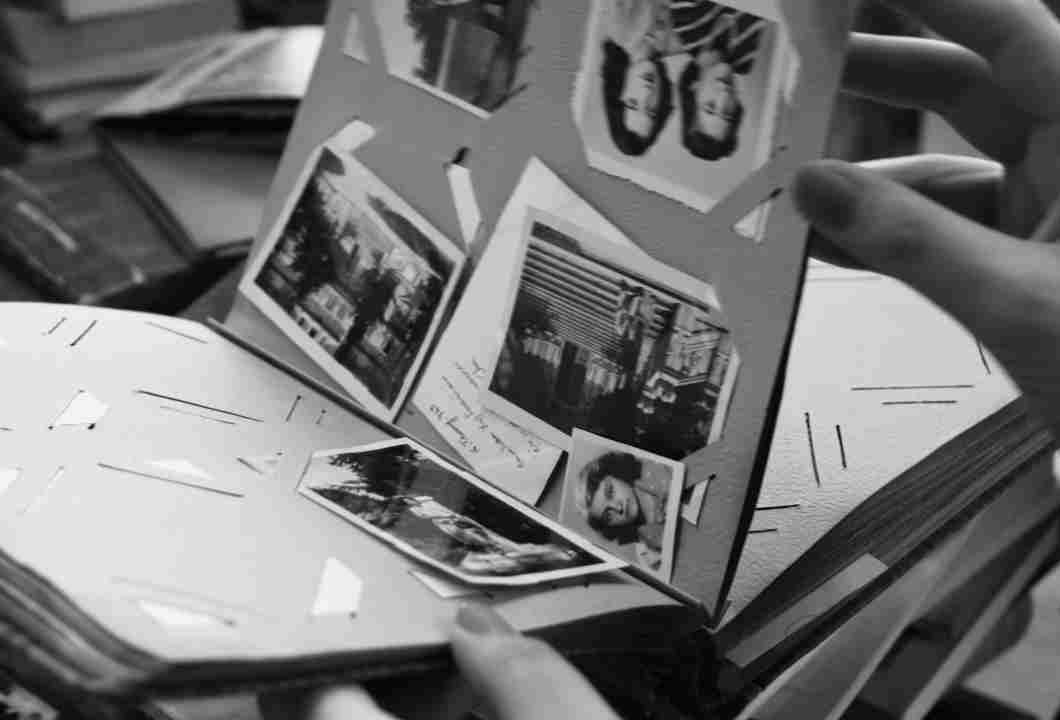
Expect labels to be helpful, but not perfect
A tape label is often just a clue.
It may say:
- Christmas 1998,
- Family Trip,
- Birthday,
- or something even vaguer.
But the actual tape may contain:
- more than one event,
- footage from another year,
- blank space,
- later recordings,
- or partial material that does not fully match the label.
That is normal.
Treat labels as starting points, not final truth.
Start with a short test capture
Before trusting the setup with a full tape, do a short test.
This lets you check:
- whether the computer sees the capture device,
- whether audio is being recorded,
- whether the image looks stable enough,
- and whether the file saves correctly.
A short test is one of the simplest ways to avoid bigger frustration later.
This matters even more if the computer is older, which is exactly where a workflow like Digitizing VHS on an Older Laptop: What to Expect and How to Avoid Frustration becomes relevant.
Keep your capture workflow simple
One of the easiest mistakes is trying to do too much at once.
When capturing VHS, the first goal is not perfect editing.
It is reliable preservation.
That means the smoothest order is usually:
- capture the tape,
- save the file clearly,
- review enough to confirm it worked,
- back it up,
- then decide whether editing is necessary later.
Trying to capture, trim, rename, improve, sort, and archive everything in one step usually makes the process heavier than it needs to be.
Use filenames that still make sense later
This matters a lot once you have more than one file.
Avoid names like:
- capture1,
- tape_new,
- finalvideo,
- oldmovie.
Instead, use names that include:
- a tape ID,
- date or approximate year if known,
- and a short description if useful.
For example:
VHS-04_1997_Christmas
VHS-09_DateUnknown_FamilyTrip
You do not need museum-level naming.
You just need names that will still help you later.
Save the files somewhere predictable
Project files become much harder to manage when they scatter across the desktop, downloads folder, temporary media directories, and random external drives.
Create one project folder from the beginning.
For example:
VHS Digitization Project
├── Captures
├── Reviewed
├── Needs Review
├── Notes
This keeps the process clearer while it is in progress, and later the finished files can be moved into a broader system like How to Build a Digital Archive That Still Works for 10+ Years.
Review enough to catch obvious problems early
You do not need to watch every file from start to finish immediately.
But it helps to review enough to catch major issues before the whole project moves forward.
Check for:
- missing audio,
- broken or corrupt files,
- unstable signal,
- capture interruptions,
- and filenames that no longer make sense.
Catching problems early is easier than discovering them after several tapes have already been processed.
Back up the digital files early
Once the footage has been digitized, it becomes part of your archive.
That means it should not sit as a single vulnerable copy on one computer for long.
This is exactly where The Complete Backup Guide for Family Photos and Videos becomes relevant. VHS digitization creates important files quickly, and those files deserve backup while the project is still in progress.
Know when to keep going and when to outsource
Home digitization can work very well for many people.
But it is not always the right answer for every tape or every situation.
It may make sense to outsource when:
- the tapes are very fragile,
- playback is unstable,
- the equipment keeps failing,
- the project is too large,
- or the material is valuable enough that you would rather not risk a difficult DIY process.
Choosing help is not failure.
Sometimes it is the more careful preservation choice.
Common mistakes to avoid
1. Starting without testing the setup
A short test saves a lot of trouble.
2. Saving files with vague names
That creates confusion fast.
3. Letting project files scatter everywhere
A clear project folder helps a lot.
4. Treating the capture file as permanently safe without backup
Digitized video still needs protection.
5. Trying to perfect everything during capture
Preservation first, refinement second.
Final takeaway
Digitizing VHS at home is absolutely possible for many people.
The key is not having the fanciest setup.
It is having a process that stays clear, repeatable, and safe enough to preserve what matters.
Test first. Name files clearly. Keep the project organized. Review as you go. Back up the results early. And do not hesitate to outsource when the tapes or the setup make that the wiser option.
That is usually what turns a stressful VHS project into a useful digital archive.